One of the things that I love about the CO2 laser is how versatile it is. This week, I had a client come to me looking for custom leather patches that they could sew onto hats. There are a few tricks to working with leather to achieve the best results. Let's get into it!
MATERIALS USED (May contain affiliate links)
TOOLS USED
- Laser specs: 60 watt Epilog Fusion Edge
- Raster Engraving: 500DPI, 80% speed, 20%
- Vector Cutting: 20% speed, 90% power, 60% frequency
STEP 1: Create the Artwork
Setting up the artwork for patches all depends on the shape of the patch. I typically nest the artwork myself to maximize how many patches I can fit on the material. I also put cutting artwork on one layer and engraving artwork on a second layer.

STEP 2: Mask the Leather
One of the tricks that I've learned over time is that it is best to mask the material with a low to medium tack masking tape. This is mainly for the laser cutting process to keep the edges of the leather as clean as possible. Otherwise, the face of the leather will look bad.

STEP 3: Laser Cut the Patches
After masking the material, I laser cut the individual patches first. It's important to do this step while the leather has a masking on it to protect the face of the leather.

Once the patches have been cut, peel away the masking on each of the patches to get them ready for laser engraving.

STEP 4: Engrave the Patches
Before laser engraving, make sure each leather patch lie flat on the laser bed. Once everything is flat, you can begin engraving the patches.


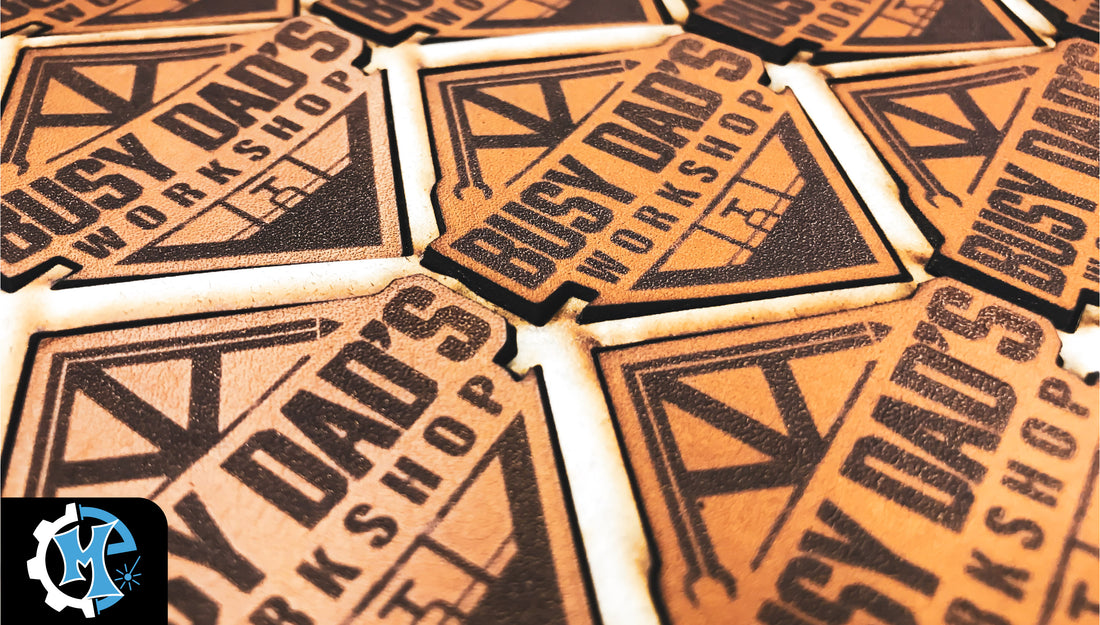
STEP 5: Enjoy Your Custom Patches!
After engraving is finished, your patches will be ready! I don't do any final clean up on these. The only thing you may want to do is put a leather finish on them, but this is not required.

1 comment
Fabolous articlle on leather hat patches